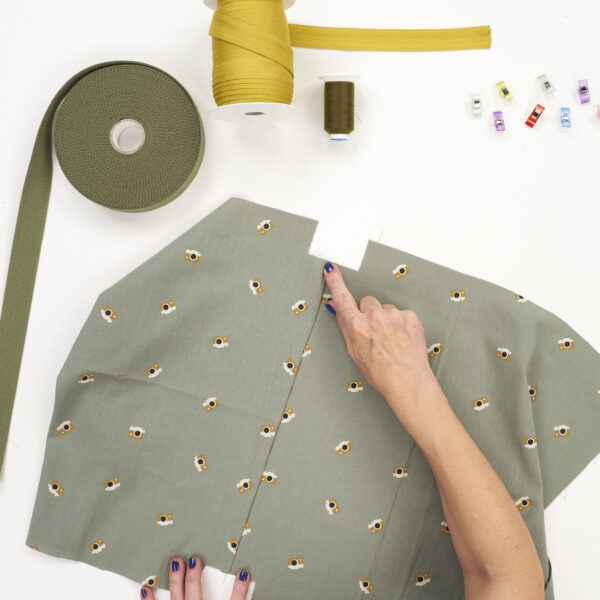
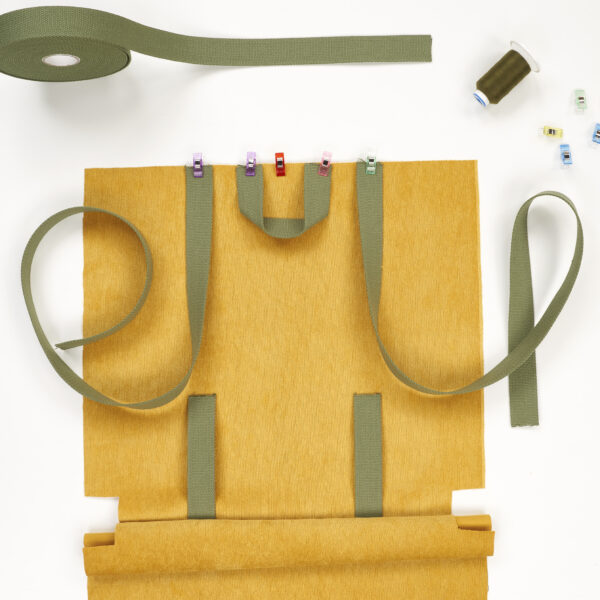
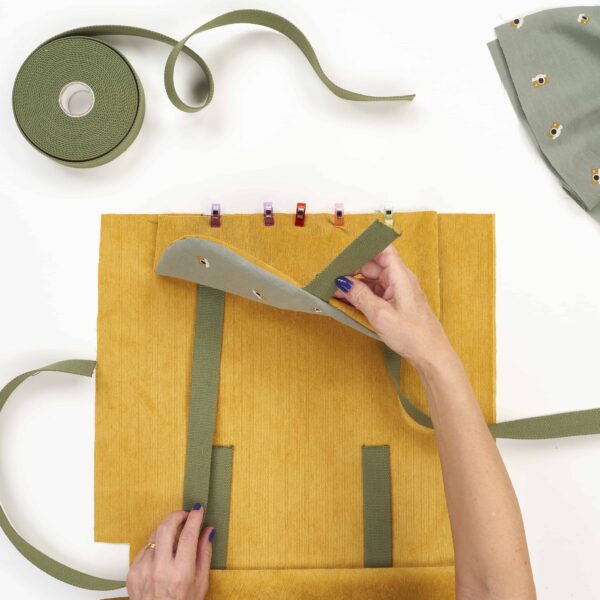
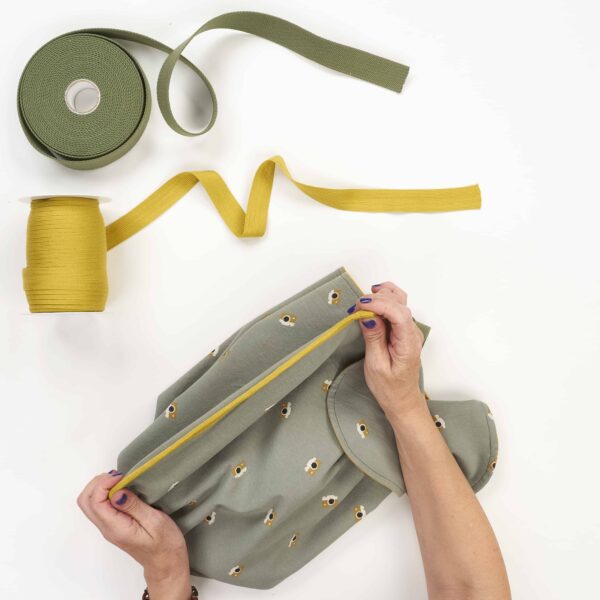
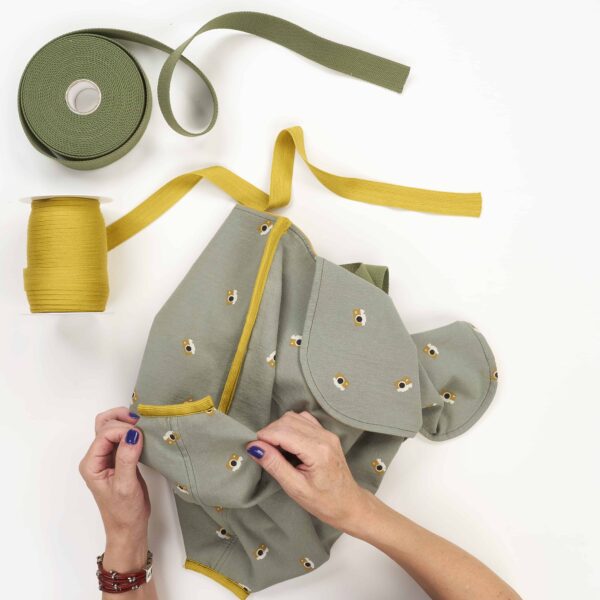
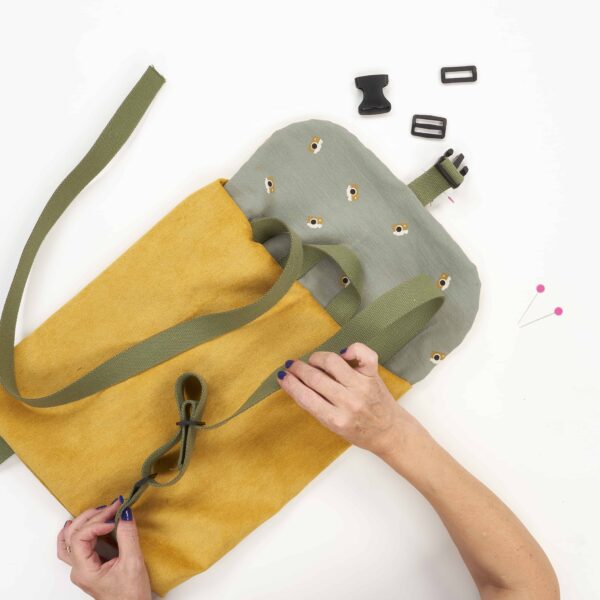
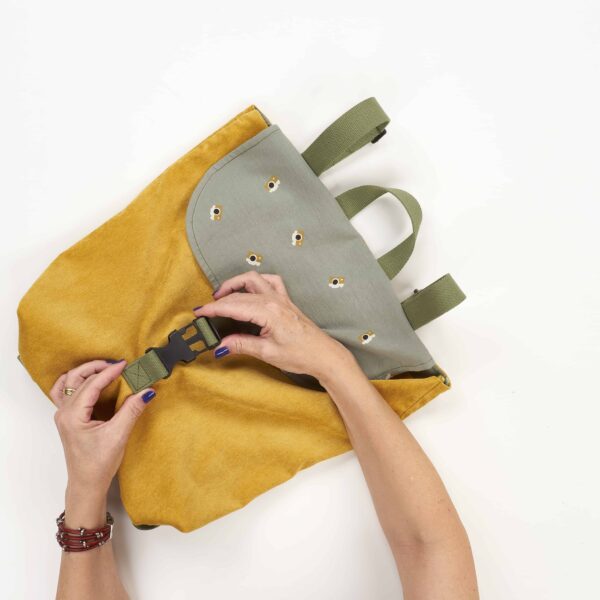
. Backpacks are an accessory that never goes out of style. They are practical, versatile, and customizable. They started as satchels for children, but the designs have evolved, and now adults can use them as handbags, to carry laptops, as travel bags… We love backpacks, and we couldn’t do without them. In this article, we’ll show you how to decorate a fabric backpack with ribbons. Depending on the colors and size, it can be the perfect backpack for daycare, swimming, school, or even as a bag or purse for mom and dad. The materials for the backpack in the photo are as follows: How to decorate my fabric backpack step by step The first step is to cut the fabrics. Backpack body Backpack flap On the part that will be the bottom or base of the backpack, mark and cut a square of 5x5cm at both ends of the base, on the wrong side of the fabric. Join and sew the two parts of the printed fabric that serves as the inner lining on the part that will be the base of the backpack. For the backpack straps, cut the 100% cotton backpack ribbon from Manubens. On the part that serves as the bottom of the backpack, 12cm from the edge, place two pieces of ribbon, each 15cm long, which will be used to attach the large straps. Sew them on the right side of the fabric looking up. Center the 3 straps of the top part on the right side of the fabric and sew. For the flap, center the ribbon for the backpack closure, with the fabrics right sides together. Sew and turn. Place the flap on the top and sew with the printed fabric inside. Place the lining right sides together and sew. Sew the two ends, leaving all the straps inside. Turn the work inside out, sew the sides, and place a Manubens braid on the seams to finish them. This way, they are embellished, and the finish is better. Fold the base and finish the seams. Turn the work again to place the closure pieces. Place the closure in the center and sew. Reinforce the ribbon with a topstitch as seen in the image, and you have finished the backpack! What do you think of this proposal? The backpacks and bags that we have been proposing on this blog are ideal crafts to be taught in a sewing workshop, for example. With them, you can learn to use the sewing machine and stitches on materials of different thicknesses. With this backpack, the little ones will go happily to school (and surely the teachers will like it too, and they will ask about it). If you are passionate about the world of accessory decoration, on our blog, we also show you how to make this beautiful reusable sandwich pouch. Do you dare to decorate your first backpack? Show us the result using the hashtag #Manubens on your social profiles. We will be delighted to see the results. Happy crafting! 
Lovely Backpack for Back to School
Materials needed to decorate a backpack for school

![]()


![]()
Decorative DIY: school bag with fabric ribbons
Ver esta publicación en Instagram