. No mom or dad can resist decorating the future baby’s room with personalized details. It doesn’t matter if it’s the first child or the fourth. We love that the room we’ve designated for the new family member has something special, a detail that symbolizes the immense excitement we have to welcome them. The name made with cord is this special detail that will personalize their space. It looks beautiful on the wardrobe door, on the wall, or on the bedroom door. “But you don’t have to wait for a baby to do this craft!” you’ll say. And you’re right. It also looks great in any children’s room above each sibling’s bed or in their favorite corner. They are so easy to make that they can be a fantastic activity for a beginner’s craft workshop. Plus, you need very few materials. Do you want to know how to make this DIY with cord names? The first step will be to write the name on a sheet of paper. This sheet will be the template for the craft, so we will ensure it is the final size. If you are not used to writing in cursive, you can print the name from the computer. This way, you have the option to choose the cursive font you like the most. To avoid mistakes with the measurement, we draw the outline of the name with the cord. We leave 60 cm extra to make the heart after the name and cut. And we insert it inside the cord until we reach the other end. It’s almost time to see our craft finished. This way, we shape the name with the cord on the template. With the remaining piece, we form the first heart and close it with a bow at the base. To create the other two, we need to cut 60 cm of cord of another color and fill it with wire for the second heart. We repeat the process for the third heart. We finish by interlacing the three heart-shaped balloons and finishing them off. And there you have it! We have finished Maria’s name! We can stick it with a few drops of silicone on a board painted in the preferred color, on the lampshade of a lamp, on the wardrobe door… There are as many possibilities as ideas from your clients. If you are interested in DIY crafts like these, we encourage you to visit this blog post where we show how to make a reusable sandwich holder. Do you feel like sharing the result of this DIY? Use the hashtag #Manubens to be able to see your creations. Happy crafting!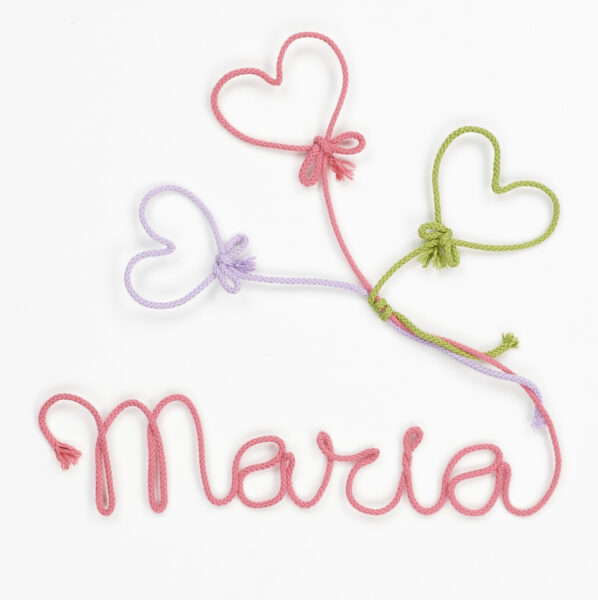
How to make the kite with fabric ribbons: step by step

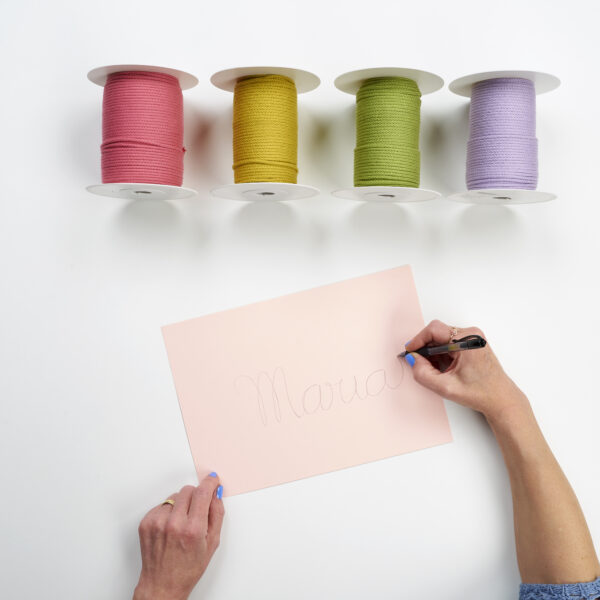
Materials to Make the Name with Cord
![]()
Step 1. Draw the Template

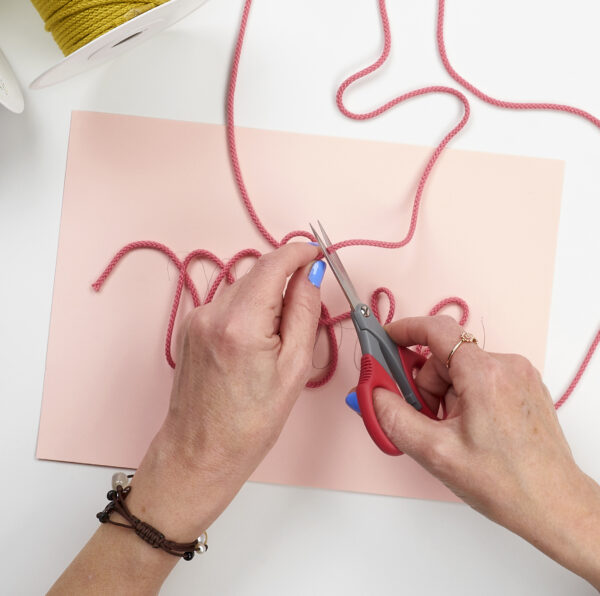
Step 2. Cut the Cord We Need


Step 3. Insert the Fine Wire

Step 4. Shape the Name
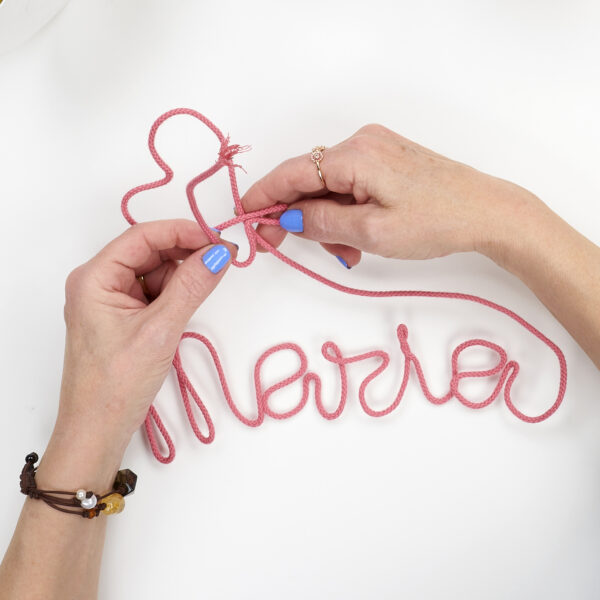
Step 5. Shape of the First Heart

Step 6 to make the name with cord

Step 7. Interlace
![]()