Learn crochet with these charming Easter bunnies
We present you with a craft that will delight the children in the family: bunnies to hide eggs and chocolate treats for Easter. It’s a super easy craft that can work wonders in a crochet workshop to delve into the world of crochet: the chain, single crochet, and double crochet.
The Easter egg hunt on Easter Sunday is a widely spread tradition in Northern Europe. It’s very fun and participatory— it’s recommended that all family members come armed with their baskets and help the little ones!
For the next Easter, you already have an idea to try out. Shall we begin?
Materials for Easter Bunnies
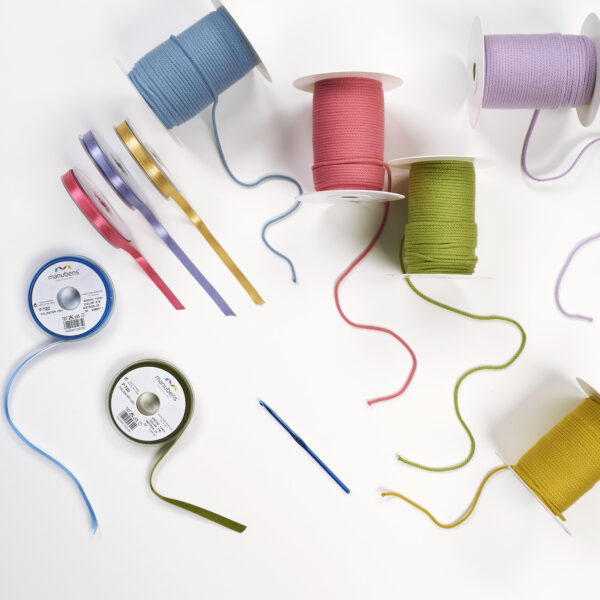
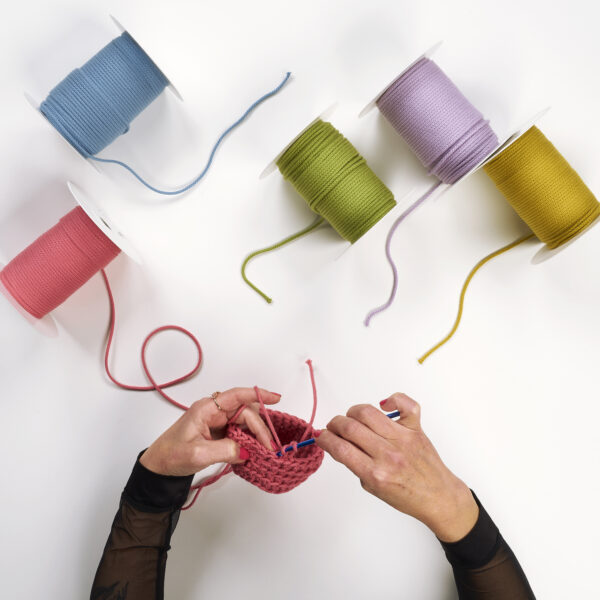
- Manubens P720 10mm satin ribbon in colors: 634, 755, 418, 87, and 668.
- Manubens P215 4mm acrylic cord in colors: 34, 56, 18, 87, and 51.
- Crochet hook suitable for the thickness of the cord. In our case, size 5.
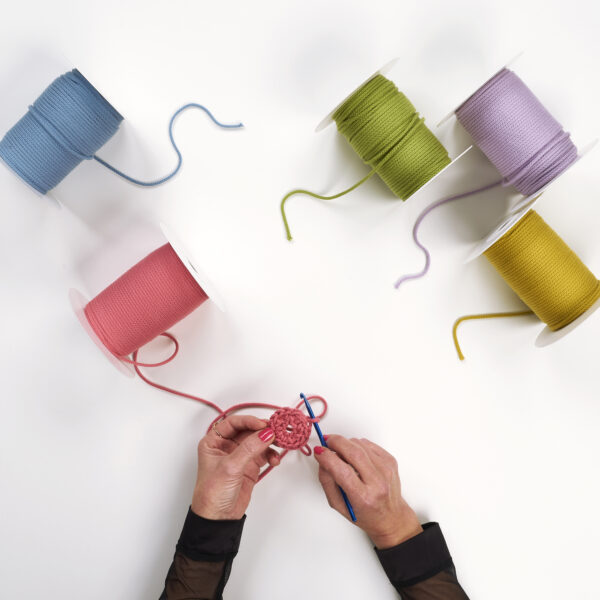
How to create the basket for Easter bunnies

1st round: Start by making 7 chain stitches and close in a ring.
It’s the simplest beginning for circular patterns.

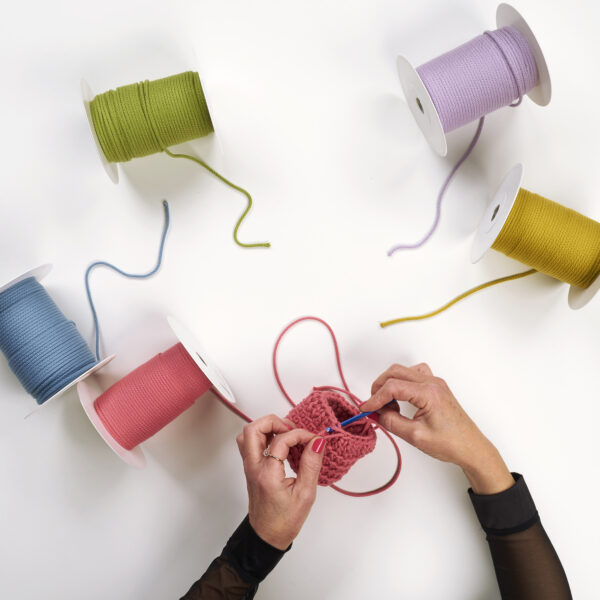
2nd round: 2 single crochets in each chain stitch. In total, 14 stitches, and close the round.

3rd round: 1 single crochet, 1 chain stitch (28 stitches in total), and close the round.

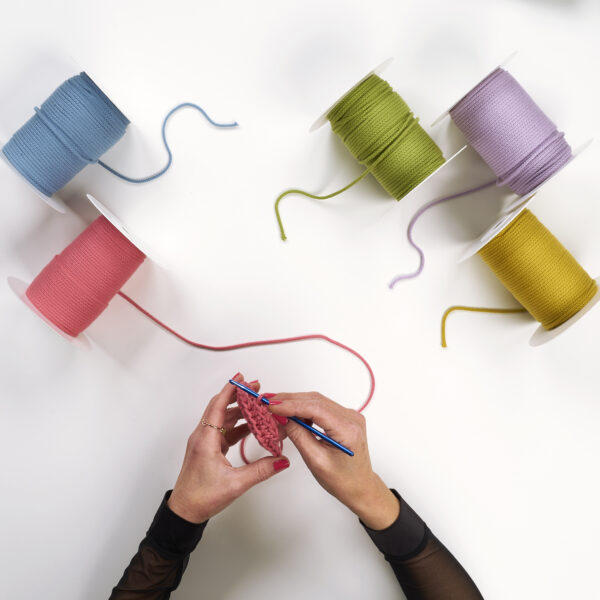
Once the base of the basket is done, continue from the 4th round with single crochet, working on the inside of the stitch.
From the 4th to the 8th round: 1 single crochet to shape the basket.
9th round: 1 double crochet and close. The purpose of the double crochet is to allow the satin ribbon to be inserted between stitches.
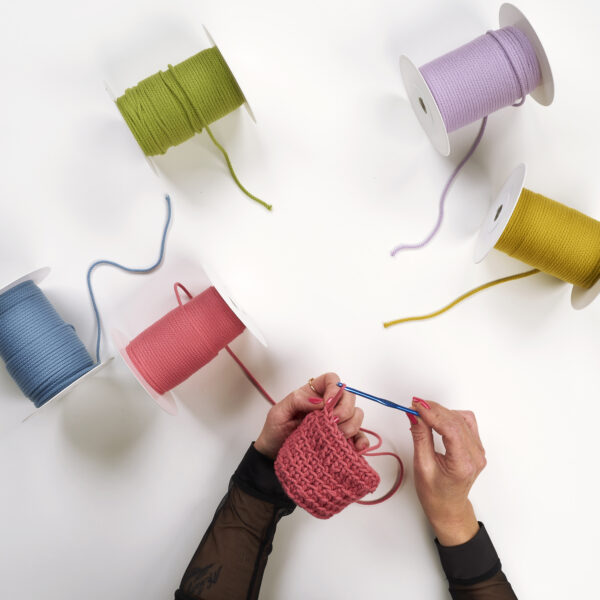
10th round: 12 single crochets, half for each ear.

11th round: 2 chain stitches + 6 double crochets. Turn the basket and knit the 12th round.
12th round: 2 chain stitches + 4 double crochets. Turn and knit the last round.
Last round: 2 chain stitches + 1 double crochet. Lower the side with a chain stitch to round No. 10 (see photo) in the direction indicated by the crochet hook.

Repeat the process for the other ear and finish the cord on the inside as seen in the photo.

Pass the satin ribbon through round No. 9 (between the double crochets) and make the bow.

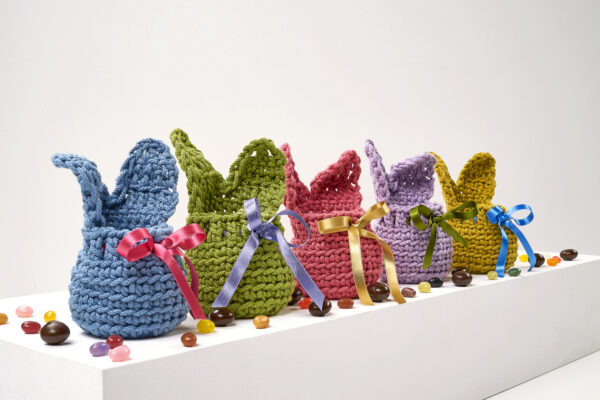
And there you have the finished Easter bunny! Repeat the process to make as many bunnies as you like and in various colors.
This is our proposal, but you can choose other colors according to each customer’s preference. Surely everyone will find their favorite colors among the extensive range of Manubens ribbons and cords to make this simple Easter craft. If you’re looking for more ideas for Easter, we encourage you to visit this tutorial where we teach you how to make Easter nests to hold chocolate eggs.
Remember to use the hashtag #Manubens for your creations—we’ll be watching!
.