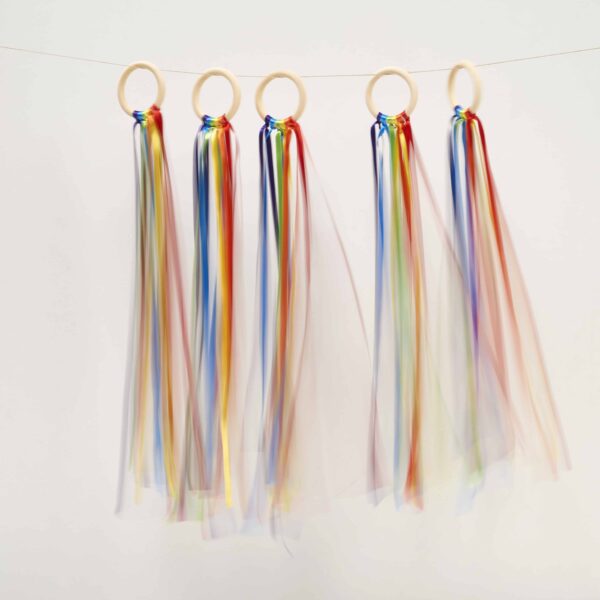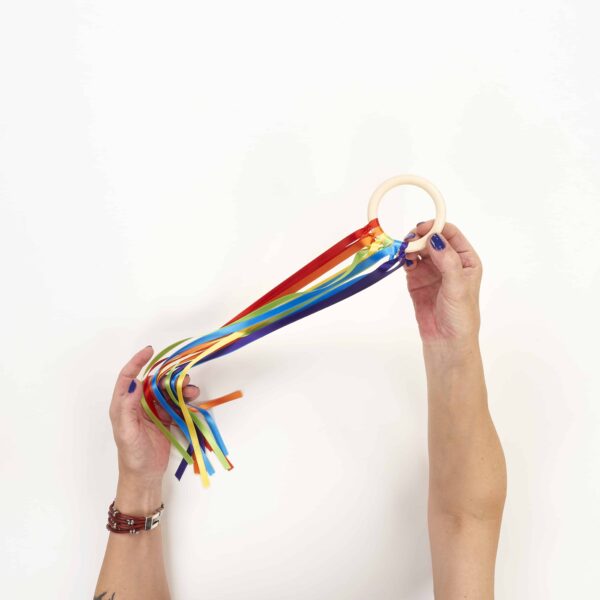
How to Make a Hand Kite or Waldorf Wind Ribbons
What child doesn’t like to play with the wind and wrap themselves in a rainbow of colors? The craft we propose in this article is Waldorf Ribbons. They owe their name to an educational method called Montessori that promotes the creativity and play of children from the earliest childhood.
In this activity, they are the protagonists: they choose the colors of the ribbons, tie them, and then play with the wind and the colors, as if it were a kite. It is the ideal activity to do as a family, at home, on a weekend afternoon. Then, all that’s left is to wait for a windy day, and let the fun begin!
To make Waldorf ribbons, you will need:

- Wooden rings suitable for the size of the child’s hand.
- Manubens P.720 satin ribbons, 8mm wide, in rainbow colors. We have used colors 53, 25, 567, 5, 71, and 45, but we recommend that each child choose their favorite colors. In our catalog, 102 colors are waiting for you to choose from!
- Scissors.
Waldorf wind ribbons step by step

Cut 2m long pieces of each ribbon and knot them around the wooden ring.

Combine the colors to create the rainbow: red, orange, yellow…

Tighten the knots, making sure the ribbons are well arranged.

And there you have it, the Waldorf wind ribbons are finished, and you can start over so that every little one in the house has their own toy!
We have made the simplest version with a small ring, a single rainbow, and a 1m tail for the little ones. For the older ones, you can use larger rings, make double or triple rainbows, longer tails… The more ribbons you add, the more spectacular it will be when the Waldorf ribbons take flight.
If you’re looking for more DIY ideas to do at home with children, like this hand kite made with vivid colors, we recommend checking out this blog article where we show how to make decorative kites to hang on the wall.
Fun is guaranteed!
